Cost Cutting With YNAB Reports

One of my biggest long term financial goals is to invest more aggressively for retirement, which, for me, is a little less than 10 years away. Yikes. I want—er, actually, I need—to ramp up my savings to help meet that goal, and a critical part of that equation involves cost cutting.
Let’s be honest, spending less doesn’t always come naturally. It’s not easy, it’s not fun, and sometimes, it doesn’t even feel possible to reduce costs—especially with factors that are out of your control, like rising prices.
So, I decided I needed a new cost cutting strategy and spending some time in the Reports section of my budget ended up being the inspiration (and information!) that I needed to come up with a better cost reduction plan.
Using Reports as Part of Your Cost-Cutting Strategy
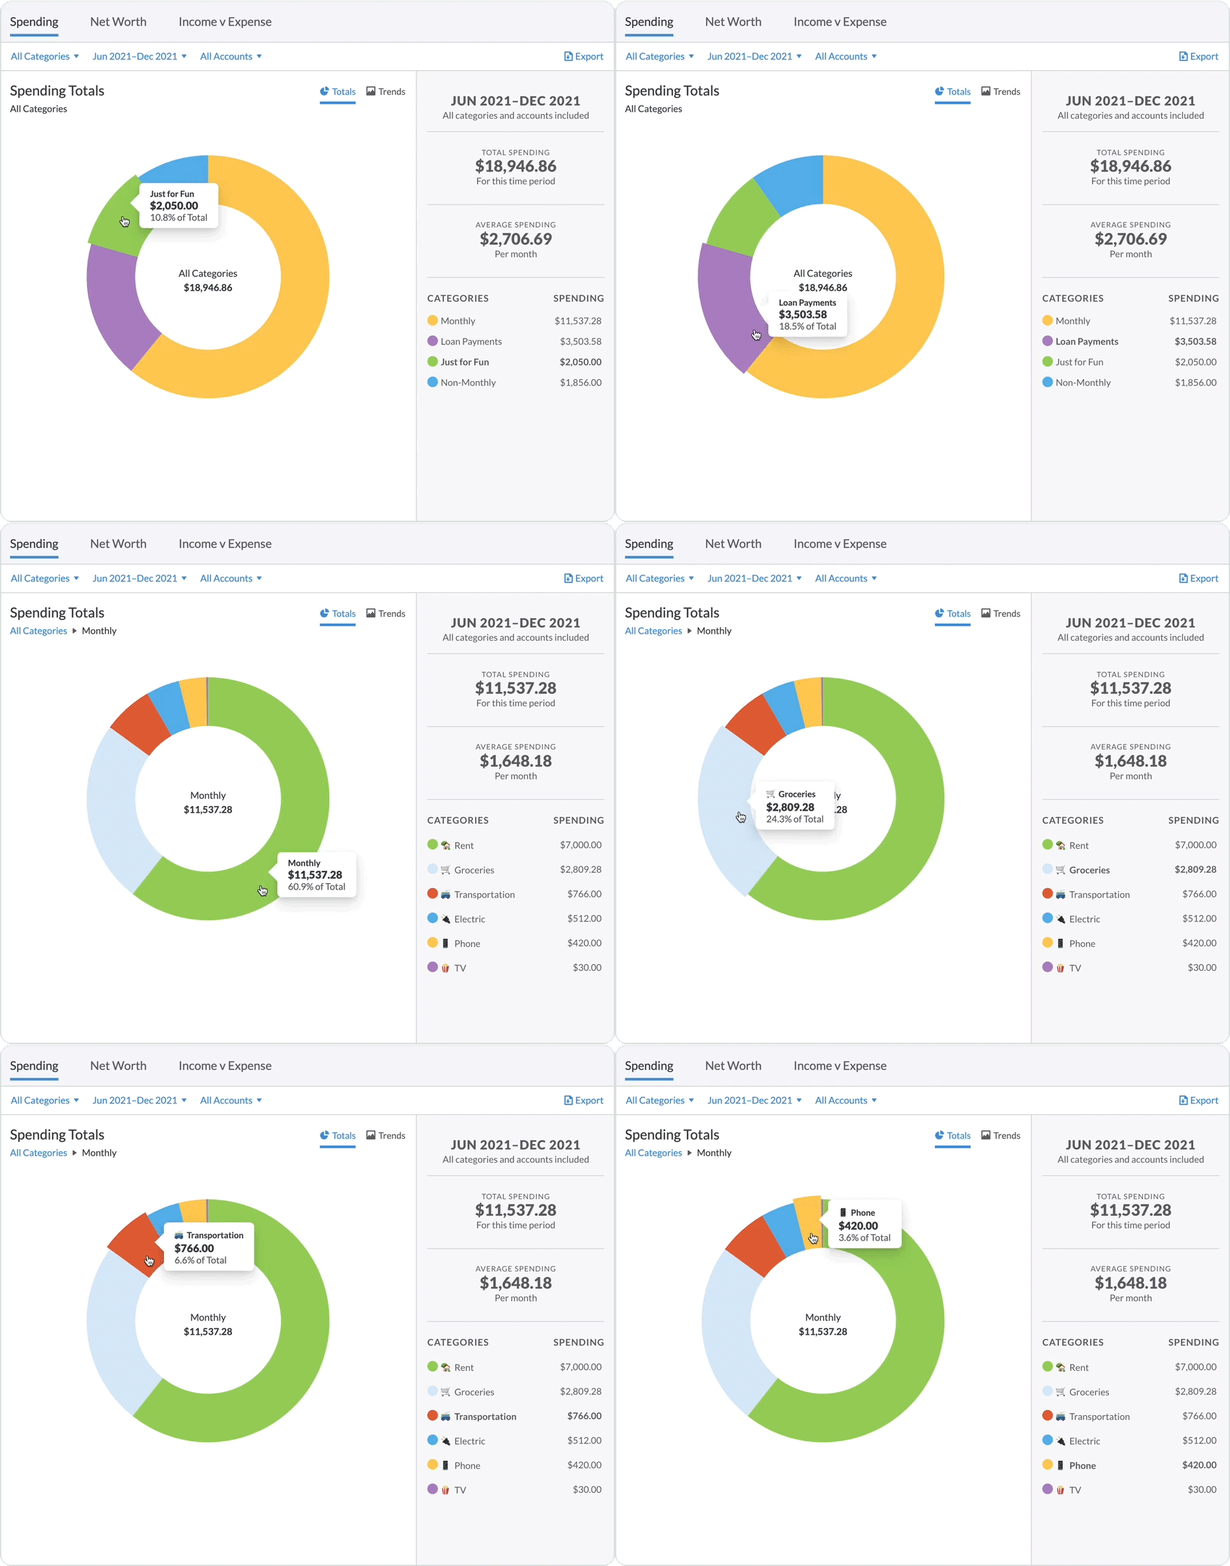
Budget reports aren’t just a fun feature for people who like charts and graphs and data; they’re actually a useful tool. Reports allow you to see how much you spend on immediate obligations, check spending by category, compare spending by date, track your net worth, keep an eye on your spending trends over time, or you can even export your info to make tax prep easier.
So, let’s take a look at how I used that information to save money:
Step 1: Do a Financial Wellness Check
First, I looked at the Income vs. Expense Report to see if I was earning more than I was spending each month. I was. Yay! That’s a good indicator that saving is possible.

If I had encountered, um, let’s say “less good” news in this step, I would know that I needed to either make more money or spend less of it, pronto.
Next, I went through the categories in my spending reports three different ways to see where I could free up some extra money:
Step 2: Determine Baseline Expenses
To determine my baseline expenses I selected each category that I knew was absolutely non-negotiable.
When I was done, YNAB showed me the total and I knew that’s the money that would be excluded from most of my cost-cutting efforts and simply wasn’t available for investing.
Step 3: Determine Optional Expenses
Then I went through again and selected all of the optional categories. That was money that, theoretically, was on the table for investing.
Step 4: Finding The Wiggle Room
Then I selected categories where I thought there was the most flexibility. I used the spending reports to tell me which areas in the budget were the most expensive.

Turns out, I spend a lot on groceries and eating out. I know I can do better there if I really pay attention, so I took it one step further and set some targets for those categories to help keep me on track.
I also noticed a few categories that were higher than I wanted them to be, namely, my phone bill and my car insurance. I spent a couple of hours researching and shopping the rates, and as a result, I shaved $60/month off of those two categories. Time well-spent!
Step 5: Heightened Awareness
I know that my success will be largely due to increased awareness over time. I went ahead and created targets for categories throughout my budget, because I know it will help make my goals more tangible, and therefore harder to ignore. I really do want to stay on track and I know the added accountability will help.
I also created a category specifically for investing where I can budget any money that I shaved off the other categories and (hopefully) be even more motivated watching that balance grow! That $60 I saved shopping around for cost savings? Boom! Straight into my shiny new Investing category.
Every dollar helps. They all add up! I’m counting on it.
Need additional ideas on how to “find” money to save so that you can meet your own financial goals? Try our free 30-day More Money Challenge!

.svg)
.png)


.svg)